Here are some older pics from before the blog began. I have been working on this since January of 2008 so there is kinda a lot but I will pack it in there.
Here we have a decent side shot of the building jig.

Here is the stem, it was a lot of fun to make with hand tools. A good learning experience.
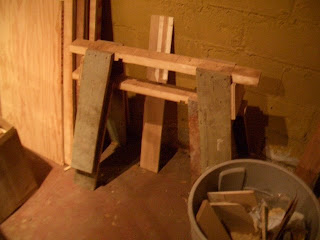
Here is a pair of bitchin' saw horses that i made out of a busted ass shelf that i found in the garage.
Sexy look at the Chine as it sweeps gracefully around the moulds.

This is my clamping fixture made of garden stones. Laminating the transom.
 Ah yes. the steering gear bought for short monies on good old e-bay
 Here we have some fine joinery
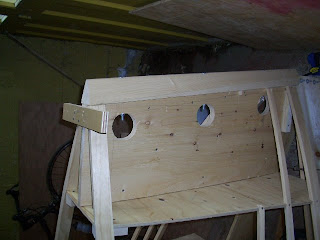
 Sitting tall and proud the new console will allow me to control the boat and see over the bow at the same time. Such luxury!
 Again
Again This seat will be notched to accept the console and will give me more space to move about behind it.


 When I started installing the bottom's second layer i got a bit lazy and put a pattern cutter in the biggest router that i had (3hp) and just went crazy. I made a lot of dust but it only took a couple of min. and worked perfectly.


